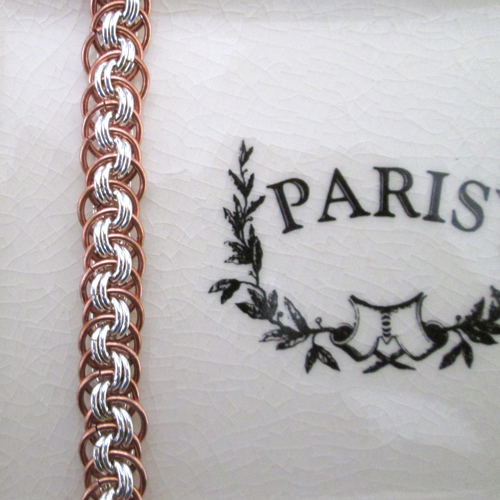
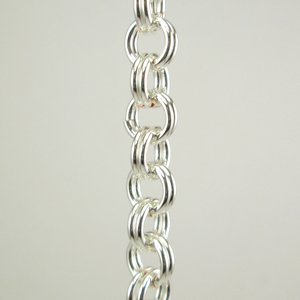
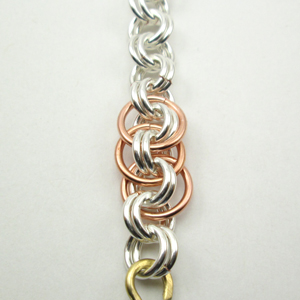
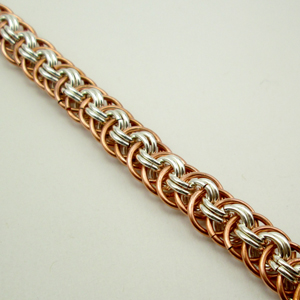
Viper Chain - Try this project using 16 gauge jump rings or create a more delicate chain using 18 or 20 ga. The project as shown uses approx (50) 16ga 8.0mm ID (100) 16ga 5.0mm ID Jump rings. Mixing metals is also an interesting way to highlight this project.
This project uses the following size jump rings.
 and
and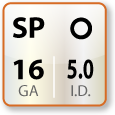
|
Materials This project uses 16ga 5.0mmID jump rings (small) and 16ga 8.0mm ID jump rings (large) for this project. |
 |
|
|
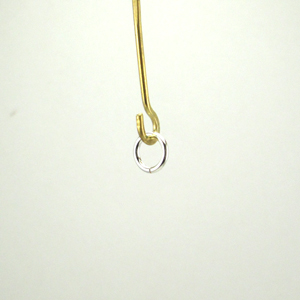
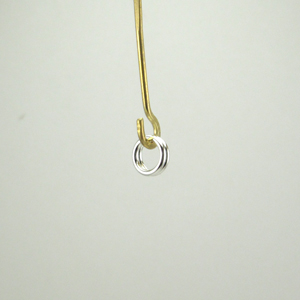
STEP 1: The Starter Close a small (16ga 5.0mm ID) jump ring. I recommend attaching a piece of scrap wire to help hold on to your project. |
 |
|
|
STEP 2: Add a New Ring Attach a new small (16ga 5.0mm ID) jump ring next to the first ring. Jump rings should be side by side. |
 |
|
|
STEP 3: Add a New Ring Attach a new small jump ring through both existing rings. |
 |
|
|
STEP 4: Add a New Jump Ring |
 |
|
|
STEP 5: 2-2-2 Chain Continue adding 2 jump rings to form the length of your chain. 80 rings makes approx 7 inches of chain. Estimate 12 rings per inch of chain. You can always add more before you finish to get the ideal length.
|
 |
|
|
STEP 6: Add a Large Ring Open a large jump ring (16ga 8.0mm ID) and insert it through a pair of rings entering from the right side. Skip a pair of rings and go through the next pair from the left side. You should have a large ring attached through two pair of small rings. Middle pair of small rings skipped.
|
 |
|
|
STEP 7: Add Large Ring to Next Pair |
 |
|
|
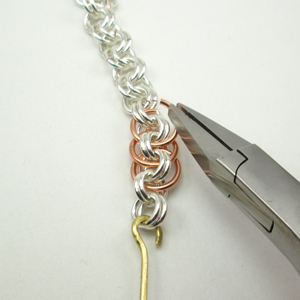
STEP 8: Repeated Task Slowed Down Locate the next open pair of small rings. Open a Large ring and insert it from the right side. Be sure to be on top of of the previous large ring. Each large ring will sit on top of the previous ring. |
 |
|
|
STEP 9: Skip a Pair |
 |
|
|
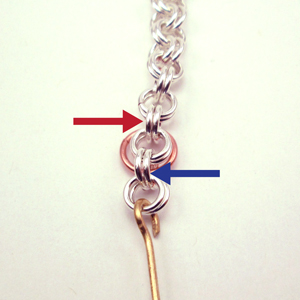
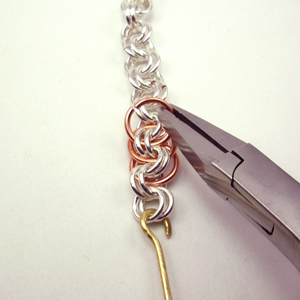
STEP 10: Close the Ring Close the jump ring. Notice how the large rings overlap. If you set the project down and loose your place, turn the chain over until they match the picture. |
 |
|
|
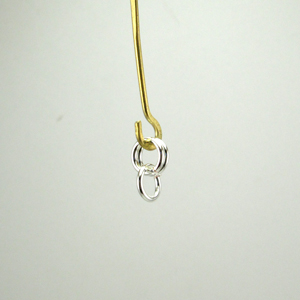
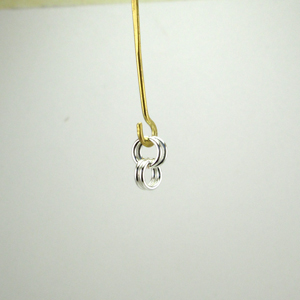
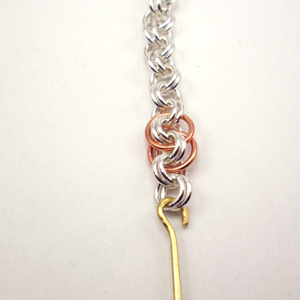
STEP 11: Add a Clasp |
 |
|