Time to Complete: ~2 hours
Final Length: Customizable
2 pairs of pliers
Clasp of your choice
18ga 3.0 - 6 per inch
20ga 2.5 - 25 per inch
STEP 1: Materials
We are going to start this project making a simple 2 - 1 - 2 - 1 chain. It is slightly more difficult because we are changing up sizes throughout the project. [Change up the sizes from this pattern to create different looks]
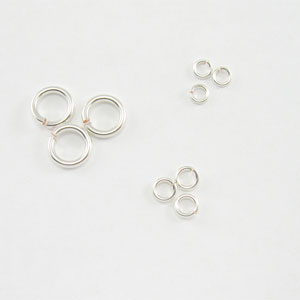
For this example, use 14ga 6.0mm ID - large jump ring, 18ga 3.0mm ID - medium jump ring, 20ga 2.5mm ID small jump ring
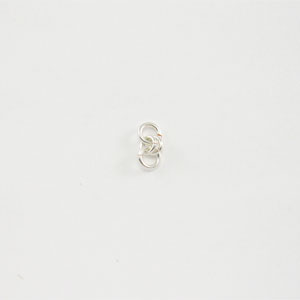
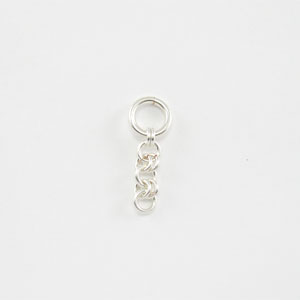
STEP 2: Start with a Medium Jump Ring
This is a classic 1-2-1-2 Chain. The aspect that makes this a little more difficult is the ring changes.
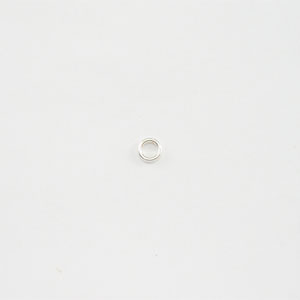
Close one medium (18ga 3.0mm ID) jump ring.
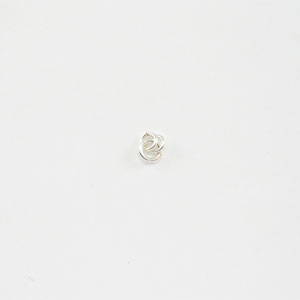
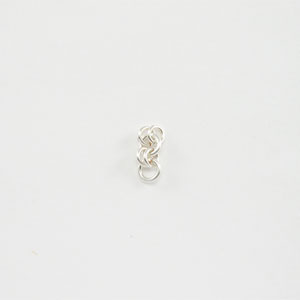
STEP 3: Attach 2 Small Jump Rings
Attach two (2) small rings (20ga 2.5mm ID) jump rings to the closed medium ring.
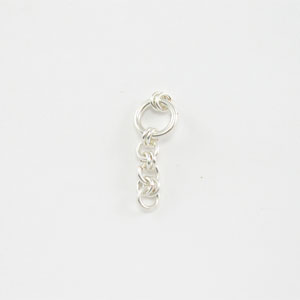
STEP 4: Add Medium Jump Ring
Open a medium ring and attach it to the two existing small rings.
STEP 5: Attach 2 More Small Jump Rings
Open two (2) small rings to the new medium ring.
STEP 6: Add Medium Ring
Open a medium ring and attach it to the two small rings.
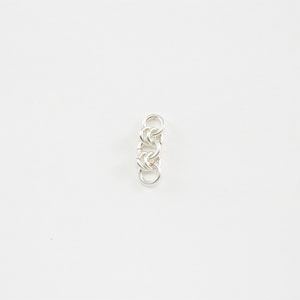
STEP 7: Attach 2 More Small Rings
Open two (2) small rings to the new medium rings.
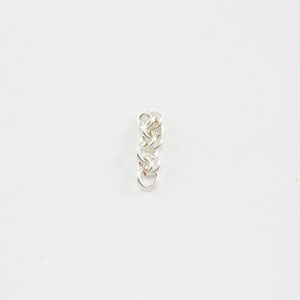
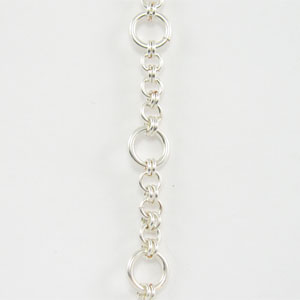
STEP 8: Add Large Ring
Open a new large 14ga 6.0mm ring to the (2) small rings.
STEP 9: Attach 2 More Small Rings
Open two (2) small rings to the new large ring.
STEP 10: Continue Pattern
Continue the 1-2-1-2 pattern until you reach your desired length.
Reminder of the pattern Med•Sm•Med•Sm•Med•Sm•Lg
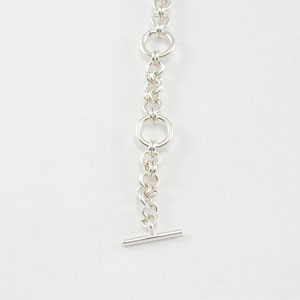
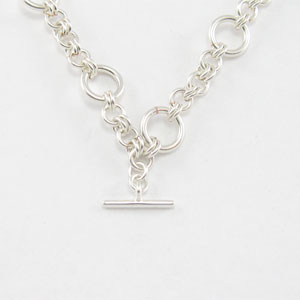
STEP 11: Attach Clasp
Use small rings to attach clasp. You can use a single or double ring depending on the clasp.
STEP 12: Make Identical Chains
Make an identical chain, leave off the clasp on the second chain.
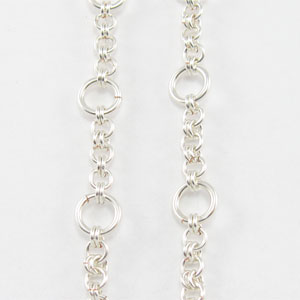
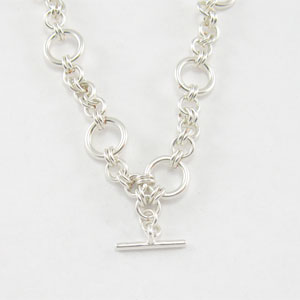
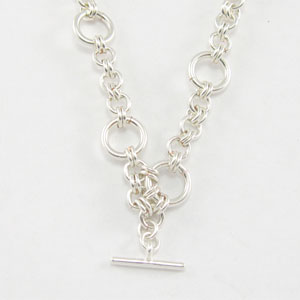
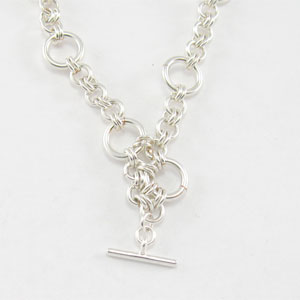
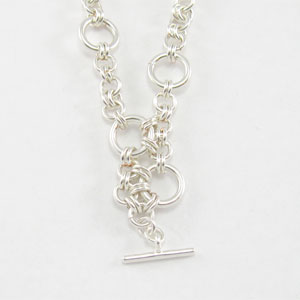
STEP 13: Offset the Chains
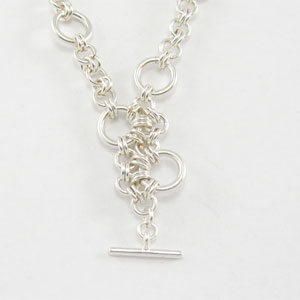
Offset the two chains so that the chains line up as shown.
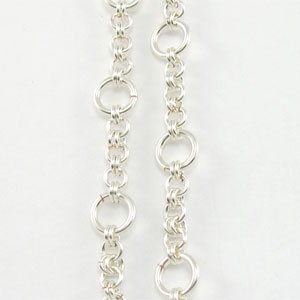
STEP 14: Connect the Chains Together
Using the small rings attach the medium rings from one chain to the large ring from the other chain.
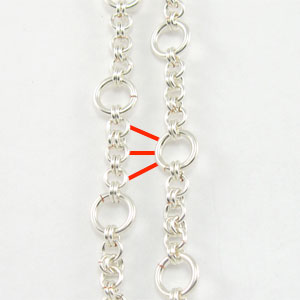
STEP 15: Attach 1st Medium to Large
Open (2) small rings. Attach the first medium ring on the chain on the left to the large ring from the chain on the right.
STEP 16: Attach 2nd Medium to Large
Open (2) small rings. Attach the second medium ring on the chain on the left to the same large ring from the chain on the right.
STEP 17: Attach 3rd Medium to Large
Open (2) small rings. Attach the third medium ring on the chain on the left to the same large ring from the chain on the right.
STEP 18: Attach 1st Medium to Large
Open (2) small rings. Attach the first medium ring on the chain on the right to the large ring from the chain on the left.
STEP 19: Attach 2nd Medium to Large
Open (2) small rings. Attach the second medium ring on the chain on the right to the large ring from the chain on the left
STEP 20: Open Third Medium to Large
Open (2) small rings. Attach the third medium ring on the chain on the right to the large ring from the chain on the left.
Repeat steps 15 thru 20 until the chain is completely linked together